
Hello to my Disney Scrapper friends! I am so glad you could join me over here on my blog for a fun tutorial using watercolors.
Watercoloring is a hot new trend in the world of scrapbooking. There are many different ways to use this fun medium and today I wanted to share a few of my favorite techniques.
Watercoloring is a hot new trend in the world of scrapbooking. There are many different ways to use this fun medium and today I wanted to share a few of my favorite techniques.
Don't have
watercolors? You can make your own with an ink pad, a water spritzer, an
acrylic block or non-stick mat, and a paint brush. I have found that dye inks
work better for this technique, especially the Tim Holtz Distress inks and the
Stampin' Up Classic Ink Pads.
In my first layout
to share, I created the striped border patterned paper to match the rest of the
elements on my page.


Here are the steps:
1. Gather your
photos and patterned papers. Then choose 5-6 ink colors to coordinate with your
layout. Here I chose a mixture of inks: Ground Expresso and Frayed Burlap
Distress Inks. Stampin' Up inks in Old Olive, Mossy Meadow, and Delightful
Dijon. I also pulled Barn Red from Close to My Heart. Also get out a piece of smooth white cardstock. (I tried watercolor paper with this technique but it bled too much.)


2. Apply each color
of ink to a spot on your craft mat or acrylic block. You want enough ink and
enough space to be able to mix it with the water to create your watercolor.


3. Spritz your ink
splotches with the water. I use a mini mister from Ranger which gives a good
amount of water...not too little and not too much. You will start to see the colors pool a bit in the water. Also a word of
warning...sometimes you get little ink splatters when you do this so be sure to
move your photos and patterned papers out of the way before you add the water.


4. Choose a
paintbrush and swirl it around in the color you want to start with. Then make a
3-4 inch line at the edge of your paper. This is your first stripe.


5. Continue making
stripes with alternating colors down the paper. Try to vary the width of the
stripes. This will give your paper more interest. You may need to experiment
with the colors a bit. Sometimes certain colors don't look good next to each
other when they overlap. It really is just trial and error.


**At this point you
may notice my stripe colors look different. I did this demo with different ink
colors and once it dried it did not match my paper at all. So I chose different
colors and started over. But I forgot to retake my photos.
6. Let your paper
dry completely. You can speed up the process with a heat tool but your paper
will warp some. This is normal. :)
7. Once your paper
is completely dry you can cut it out or use a border punch to create a border
for your layout.


Here are a few
other pages I have created lately using this technique. I am loving how it
looks and how I can create custom patterned paper to match my layout.


This layout was
created with digital elements from Project Mouse's Adventure Kit. I needed a
patterned paper with many of the colors from the other elements on the page to
tie it all together so I created the striped piece using this technique.

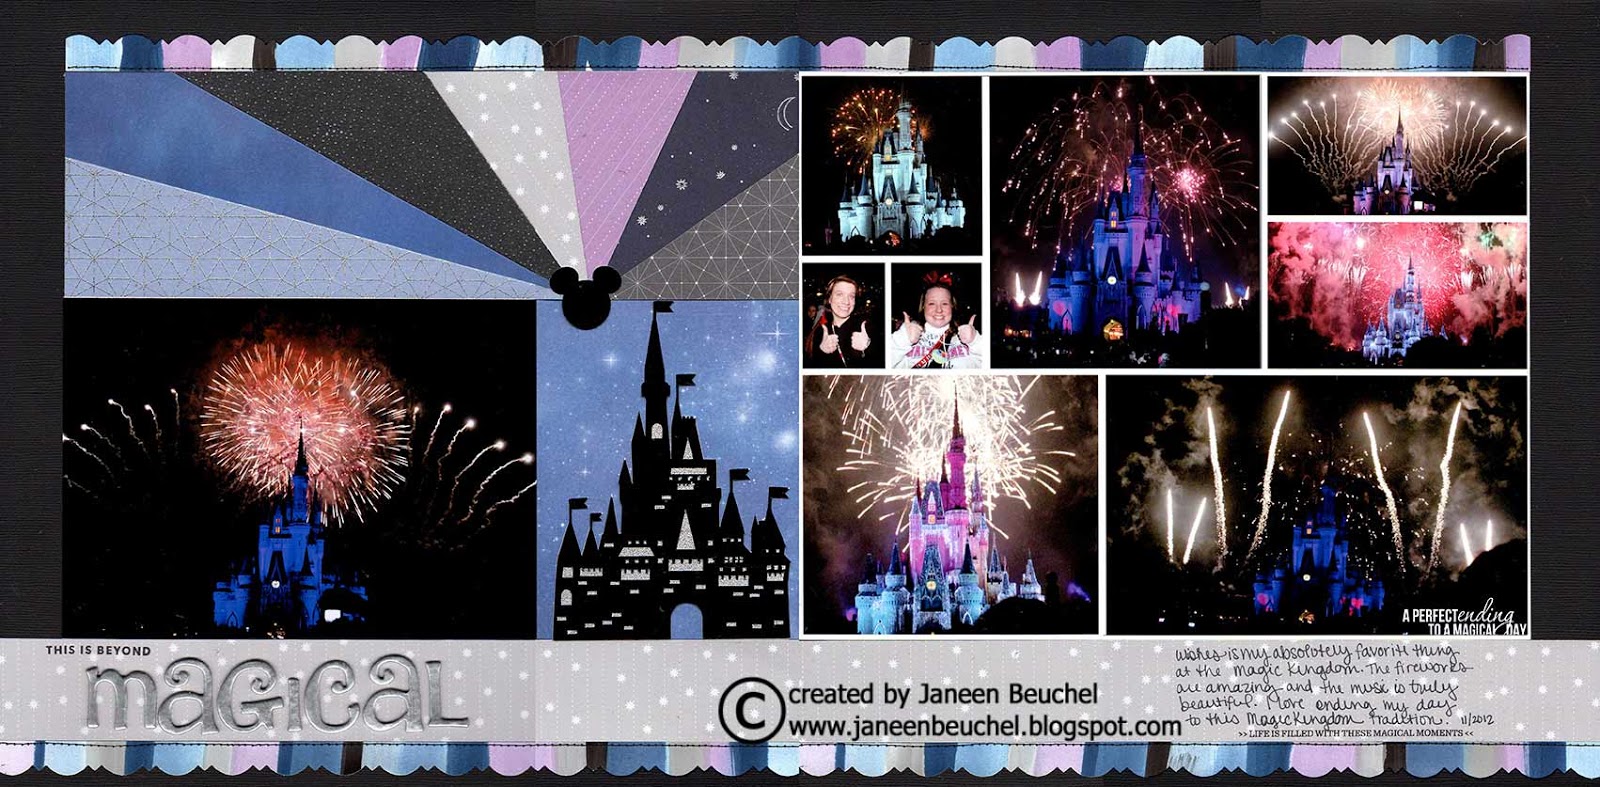
I found the perfect
paper collection for my Disney Wishes photos but there was not a paper that had
all of the colors from the collection on one paper to tie the colors together
so I created my own striped paper to coordinate with the rest of the papers.
*********************
A second technique
I wanted to share with you is making a watercolor washed background for your
layout. I created the background of this layout using the Kuretake Gansai Tambi
Watercolors and 12x12 watercolor paper from Strathmore. The watercolor paper
allows the paint to bleed more and gives a more blended look.


Here are the steps
to create this look:
1. Choose your
photos and patterned papers first. This will help you choose what colors to use
for the background. Choose 4-6 colors of paint that go well together.
2. For this layout
I had a general idea of where I wanted things to go on my layout so I marked
where my photo was and made sure I had the edges covered but didn't do too much
painting under where the photo would go.
3. Load up your
paintbrush with lots of water and a little bit of watercolor paint. It may take
a practice run to figure out how much paint to get to get the look you want. I
ended up wiping some of mine off of my brush with a paper towel before I
started. Choose to work from one end and continue around the page. I started in
the middle and had to go back with some extra water to get my colors to blend
if they had started to dry.
4. Then add your
second color, making sure to overlap the two colors a little bit to get them to
blend. Continue with new colors and continue working across your page until you
have all the areas filled in that you want to.


5. Let the paper
dry completely before moving to the next step. I had a small wet spot on my
paper and that made my pen bleed...luckily it was right where I wanted to cover
it up. :)
6. I then used this
Disney Scrappers die cut that Susan is making available for National Scrapbook
Day and my Silhouette Cameo with the pen attachment to draw the die cut on my
page. (See Challenge #10 for more details.)
 |
| (This was my first time playing with the Silhouette pens and I am so pleased at how this turned out!) |
7. You can color in
a specific word or phrase or leave them as is. I chose to color in the
"Disney Magic!" to make that my page title.


There is so much you
can do with watercolors in your paper crafting. To learn more, I recommend this
awesome FREE video series from Scrapbook.com. https://www.scrapbook.com/classes/Watercolor-Techniques-with-Natalie-Malan-All-Skill-Levels.html It has lots of great easy projects and
techniques to learn to use watercolors even more.
What I loved about
these projects is that they gave me time to just play and see what I could
create. After all, isn't that what paper crafting is all about? So my challenge
to you is to pull out your coloring materials and let's see what you can
create!
1 comment:
Super tutorial Janeen! Thanks for sharing your tips, tricks and techniques for watercoloring on layouts. I'll definitely be giving this a try!
Post a Comment