
When I am doing an album like this, I find it easiest to stick to a dedicated collection of papers and embellishments to give my album a cohesive look. I also wanted to find an element to tie the pages together like I did with the snowflake theme in my 2012 album. With the papers and embellishments this year, I decided to use poinsettias in this year's album.
To help me plan out my pages and stay organized, I turned to my trusty Silhouette software. I love preplanning out my pages using the software and it is a great way to make sure my die cuts are the exact size I want them. It also helps me see what the page is going to look like before I start cutting papers. :) Here are my sketches for each page in my album:


Once I had the pages all designed, I precut most of the elements and assembled some of the pages. Other pages I just slid all the page elements in the page protector. This way when the season starts, all I have to do to assemble my pages is print the pictures, add accents and assemble the pages. It should make it easy to keep up with this project as the holiday season progresses.

You may notice that I start my album before December begins. That is because for our family the Christmas season starts the day before Thanksgiving when my dad and I head out to do our Christmas shopping. This page is almost finished except for adding my photos and some journaling.

This page is also almost finished. I will add a circle accent to the middle of the poinsettia and the other side will be a 6x8 photo collage.

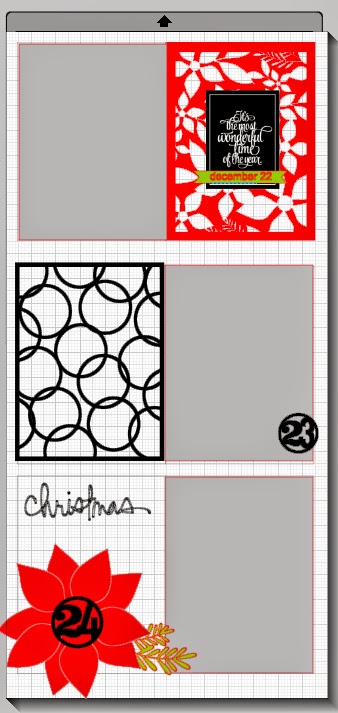
This is another one of the poinsettia pages. The date will go in a circle in the middle of the flower, but I am allowing myself some freedom to switch up the page order if I need to so I didn't die cut the date.

This is one of those pages where I just die cut the elements and stuck them in the page protector. I will assemble the page when I add the photos.

On this page I just simply assembled the background. I haven't fully decided what I am going to do in front of it. I'll figure that out when I scrap it. It's fun to leave some pages without a ton of direction so I can be inspired by the photos. :)

This is another page I mostly finished...it is for Christmas Day so I already added the date with some stamps from Ali Edwards. The die cut phrase is from Kerri Bradford. You can see that I pretty much followed the sketch for this page and I love how it turned out. :)

This is my album with all the pages in it. I haven't decorated the cover yet. I usually wait and do that at the very end of the project. :)
And now I eagerly await the beginning of the holiday season so I can begin adding the stories to my album. I will be posting the pages on here and I can't wait to share the finished project with you all!
No comments:
Post a Comment