I just found out that there is a BRAND NEW Winnie the Pooh movie coming out next summer. :) I just love Winnie the Pooh. He is so cute and cuddly and it is adorable how he totally misunderstands things. Of course the movie wouldn't be complete without Tigger, Rabbit, Piglet, Eeyore, and the rest of the gang. Here's the trailer for it....it just looks too cute!

Friday, November 12, 2010


Wednesday, November 10, 2010
A Whirlwind of a Week
Wow, what a week! I feel like I have been just going non-stop with friends and work and other events going on in my life. This weeks' events so far have been....
- A pizza party with some of my amazing girlfriends from Threefold...an evening spent encouraging one another, laughing, chatting, and speinding time together in Christ.
- Dinner with my dear, sweet friend Rosalie....2 blissful hours of just chatting and catching up on life. :)
- Creative time working on my scrapbook pages. I am taking this awesome class by Valerie Salmon called Got Sketch 106 and the sketches are blowing my socks off and fueling my creative spirit.
- Lunch with my parents and my grandma at one of our favorite Italian restaurants...just a relaxing time spent with family. This is one of the many blessings that have come from not having a full-time, all day teaching job.
- A Youth for Christ benefit dinner that my small group leader invited me to. Natalie Grant sang and the Ceraks (from the Taylor University crash identity mix-up) spoke and it was a time of complete uplifting and renewing of spirit. Also so great to be surrounded by lots of other Christians. :)
- Substituting 2 times this week - I am so thankful to be getting back into the classroom and although it is hard work, being in a different classroom each time is also very rewarding and fun too.
- A belated birthday lunch with my sister and 2 of my aunts...a great time just catching up and spending time together.
Monday, November 8, 2010
Fabric Frenzy
I love fabric. It comes in all sorts of lush colors, textures, and prints and it works on all sorts of different crafty projects. I love going to the fabric store and just seeing all the gorgeous prints that there are...it totally puts me into a creative mood.
My mom started learning how to quilt this week, and it inspired me to pull out my own small stash of fabric to create this fun layout. I normally buy the fabric quarters from JoAnn Fabrics when they go on sale and these babies are perfect for scrapbooking! The patterns are the perfect scale and you get just the right amount of fabric for a price that won't break the bank. :)
This is what I came up with....

I love this layout for so many reasons. It came together fairly quickly with the help of a PageMaps sketch. Using the colors in my photo, I chose the Sultry line from Basic Grey. I loved the bright pinks and greens paired with the rich dark brown color and it just made my photo pop.
I didn't really like the green patterned papers that were in the collection, so I turned to my fabric collection and found this green plaid piece that was perfect. I hemmed the edges of the fabric so that the piece measured 10 inches by 2.5 inches. I then attached it to my layout with Glue Lines by Glue Dots.


My mom started learning how to quilt this week, and it inspired me to pull out my own small stash of fabric to create this fun layout. I normally buy the fabric quarters from JoAnn Fabrics when they go on sale and these babies are perfect for scrapbooking! The patterns are the perfect scale and you get just the right amount of fabric for a price that won't break the bank. :)
This is what I came up with....

I love this layout for so many reasons. It came together fairly quickly with the help of a PageMaps sketch. Using the colors in my photo, I chose the Sultry line from Basic Grey. I loved the bright pinks and greens paired with the rich dark brown color and it just made my photo pop.
I didn't really like the green patterned papers that were in the collection, so I turned to my fabric collection and found this green plaid piece that was perfect. I hemmed the edges of the fabric so that the piece measured 10 inches by 2.5 inches. I then attached it to my layout with Glue Lines by Glue Dots.

I also had this awesome piece of pink fabric that coordinated with my layout, so I used my Tim Holtz Tattered Florals die from Sizzix to diecut the flower shapes. I then brushed a fabric stiffener over the tops of all the diecut flowers to stiffen them up. I used Stiffy by Plaid. You could also apply the fabric stiffener before die-cutting which is what I will probably do next time. After the fabric dries, you can even punch through it with your handheld punches...it works like butter!

Since the flowers were stiffened I could mold them to give them some dimension and I could even pop up the little flowers using foam squares to give them a bit more dimension.
I diecut the title out of felt using my Quickutz and added it to a chipboard label sticker from Basic Grey.

To add to this look I also added strips of ribbon, touches of metal with a Mickey clip, brads, and tiny staples from the Tim Holtz Tiny Attacher.
Saturday, November 6, 2010
A Birthday Sort of Day
Good morning blog readers! Today is a pretty special day around here....it's my birthday! :) Which in my books, makes it a fantabulous day no matter what is going on.
Granted, it is also make and take weekend at Archivers, so I will be spending most of my day at work helping people make Chistmas cards but at least I get to play with scrappy products all day. Then later on I will be sharing an extra special birthday dinner with my family which should be really great. :)
I also got my very first birthday card for this year, and guess what? I made it. My church sent me one of my very own creations to wish me a happy birthday. :) This is the card I recieved in the mail...

So in honor of my birthday, I thought I would share my birthday cards that I made for November. I was able to play with some really cool techniques on these and I absolutely LOVE how they turned out. :)

Granted, it is also make and take weekend at Archivers, so I will be spending most of my day at work helping people make Chistmas cards but at least I get to play with scrappy products all day. Then later on I will be sharing an extra special birthday dinner with my family which should be really great. :)
I also got my very first birthday card for this year, and guess what? I made it. My church sent me one of my very own creations to wish me a happy birthday. :) This is the card I recieved in the mail...

Does it look familiar...its because I posted it last month. He-he....my family and I really got a kick out of this one.
So in honor of my birthday, I thought I would share my birthday cards that I made for November. I was able to play with some really cool techniques on these and I absolutely LOVE how they turned out. :)
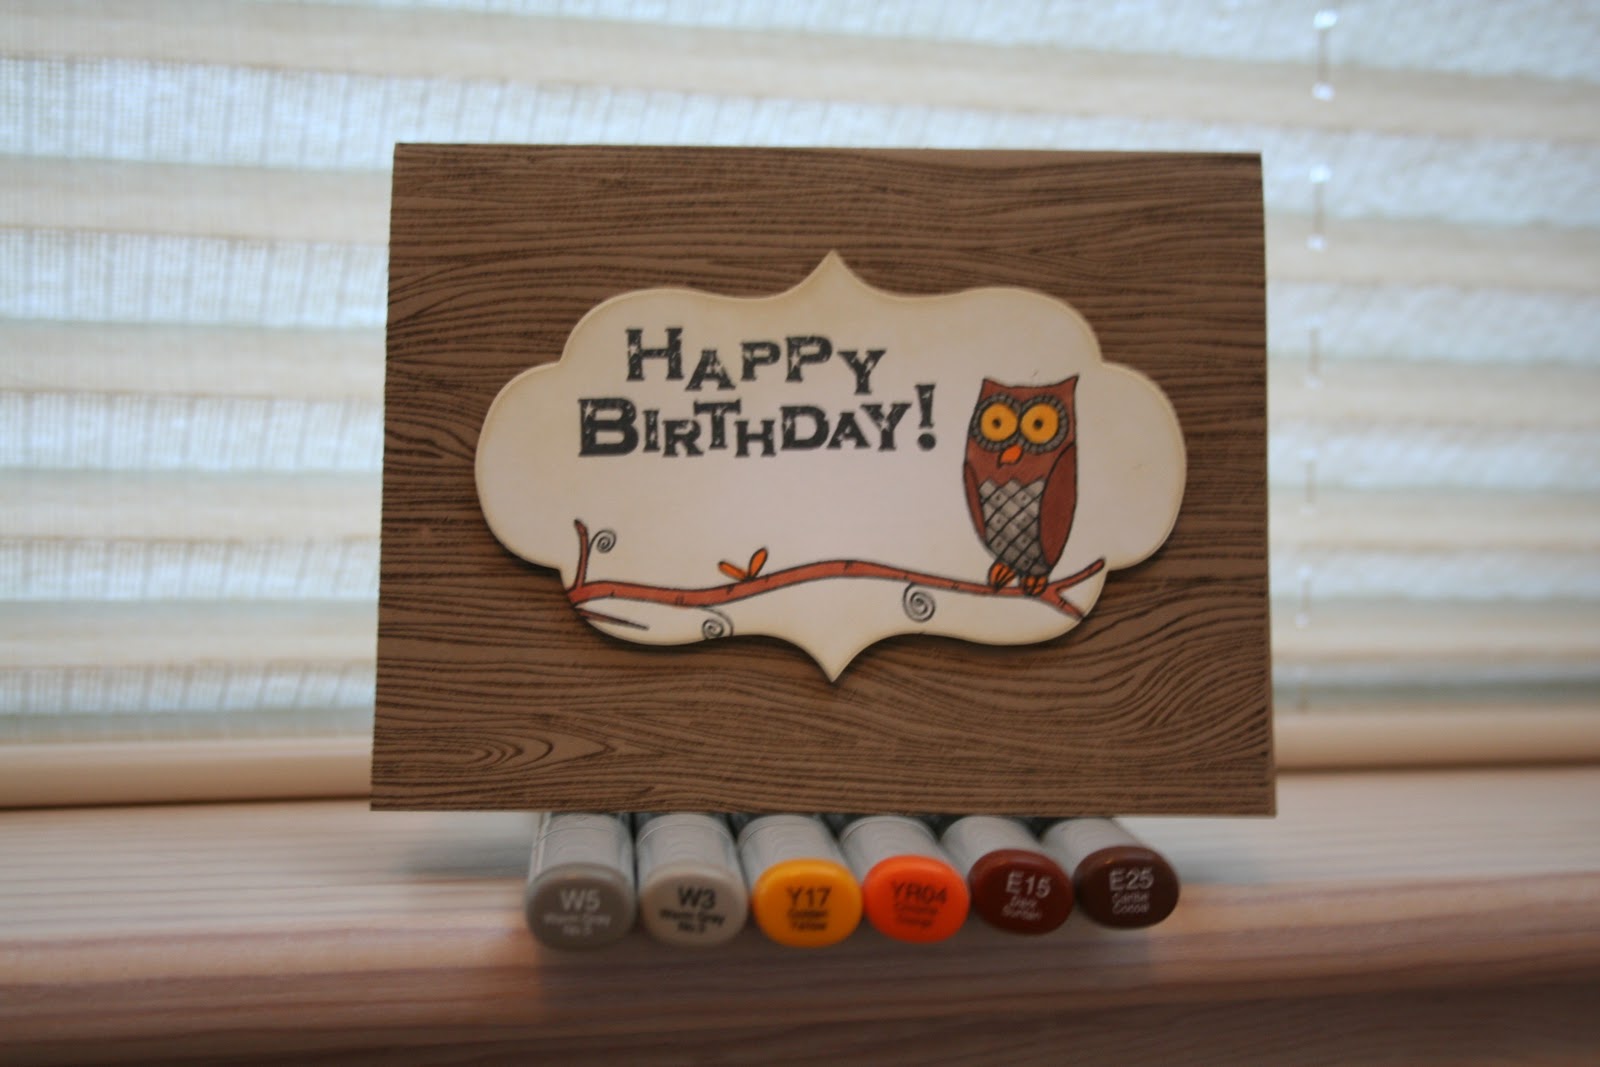
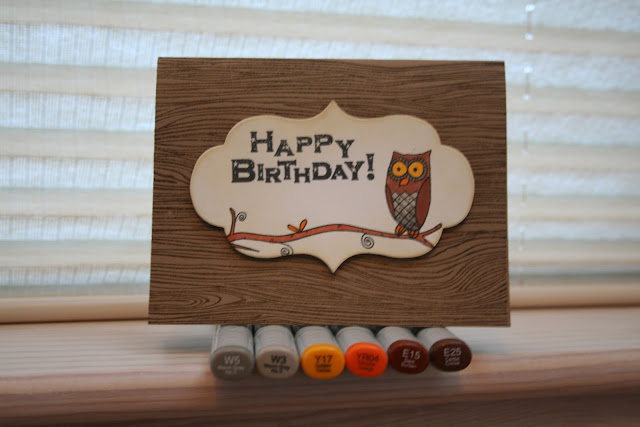
For this fabulous card, I was able to play with several techniques. I first diecut the label shape from one of the Tim Holtz Alterations dies. I then stamped the branch and cute little owl from Hero Arts onto the label with Memento ink. I also found this great sentiment from Scrappy Cat with little stars in the letters to add to the project. I then colored my card with Copic markers. It turned out really well and the coloring went pretty quicky considering that I colored 40 of these babies. :) I then distressed the edges with Tim Holtz Antique Linen Distress ink and my ink blending tool. Finally I stamped this woodgrain stamp from Hero Arts with Walnut Stain Distress ink and pop-dotted the label piece to the card. Definately a card that both guys and girls will love. :)

This next card uses one of my favorite ever Hero Arts stamps...Silhouette Grass. My coworkers think I am crazy for loving this stamp so much but I see *tons* of possibilities here.
The inspiration for this card came from an SEI paper pack called Charlemagne. The copper and tan combo, highlighted with the turquoise and black accents really struck me as a beautiful autumn color combination and I thought it would translate beautifully into this card.
First I diecut my white cardstock with another one of my favorite Tim Holtz Alterations dies and then I stamped the Silhouette Grass stamp with Versamark and embossed it using copper embossing powder. I then used Tim Holtz Antique Linen Distress ink and my ink blending tool to color the edges of my image. I stamped one of my favorite birthday sayings from Hero Arts on turquoise cardstock and cut the ends to create the banner shape and pop-dotted this to my card. I still felt that it needed a bit more so I added 3 turquoise gemstones in a cluster to the front to finish my project. It really was a fairly simple card design and I was able to create 40 of these in just one evening. :)
Well that's it for this post. Hope you enjoyed the cards and have a wonderful day everyone!
Until next time,
Janeen :)
Friday, November 5, 2010
Fall Beauty
A few weeks ago my friend Emily and I decided to head out to a nature preserve that is just minutes from my house to enjoy the beauty of fall and bask in the warm and bright weather. This day was full of all my favorite things: a fabulous friend, photography, laughter, stories, and of course the beauty of nature. :)
Here are a few of my favorite shots from the day:


Here are a few of my favorite shots from the day:


I will defnately be heading back to this beautiful piece of God's creation to revel in the beauty that is on this Earth. :)
Until next time,
Janeen
Thursday, November 4, 2010
Back again!
Well, I missed posting on my blog yesterday because I went to bed super-early. I had a crazy long day and on top of that my allergies kicked in and I took a Benadryl. I think I even shocked my family at how early I went to bed.
So anyways I will try to make it up to all of you. Today's post is also going to be pretty short because again it was a busy day and I have to work a ton this weekend so I am just going to share a fun new layout I created in my new sketch class, Got Sketch 106. Now this class is super awesome and if you love sketches, you may want to check it out here. It is taught by the super awesome and super talented Valerie Salmon. She is a regular contributor to Scrapbooks Etc. magazine and is also on the Scarlet Lime design team. The class is 3 whole weeks chock full of sketches and inspiration. I have taken every single one of Val's sketch classes...the "whole enchilada" as we GotSketchers like to call it...and I have used them over and over and over again. Love em!

So anyways I will try to make it up to all of you. Today's post is also going to be pretty short because again it was a busy day and I have to work a ton this weekend so I am just going to share a fun new layout I created in my new sketch class, Got Sketch 106. Now this class is super awesome and if you love sketches, you may want to check it out here. It is taught by the super awesome and super talented Valerie Salmon. She is a regular contributor to Scrapbooks Etc. magazine and is also on the Scarlet Lime design team. The class is 3 whole weeks chock full of sketches and inspiration. I have taken every single one of Val's sketch classes...the "whole enchilada" as we GotSketchers like to call it...and I have used them over and over and over again. Love em!

These pictures are of the Tree of Life at Disney's Animal Kingdom. The sketch was perfect for my focal point picture of the tree and the detail shots of all the animals carved into the tree....it truly is a sight to behold if you ever get the chance. I also used some older Bo Bunny papers on here and glimmer misted some white Thickers from American Crafts to get the fun effects. Finally I created two "paper rosettes" using patterned paper, a hot glue gun, and a circle punch. Super fun and easy to make, but you definately need to use the glue gun...trust me, it works way better than anything else. :)
I also have detail shots of this but they are on my other camera so I will pop on here tomorrow evening and upload them.
Well off to bed. Tomorrow starts our Holiday Extravaganza weekend at Archiver's and I will be manning one of the free make-and-take booths, helping people make a super cute Christmas card. If you have an Archiver's near you it is worth a visit. And if you are by Glenbrook Mall, come visit me and make a free card. :)
Until tomorrow,
Janeen
Tuesday, November 2, 2010
Distress Ink Goodness
Hey there my fabulous blog readers. Here we are on day 2 of my 30 days of blog posts. Today I want to share some links and goodness about my one of my absolute favorite scrapping/card making products - Distress Inks!!! :)

http://www.twopeasinabucket.com/mb.asp?cmd=display&forum_id=52&thread_id=2839474
https://www.twopeasinabucket.com/events/7-october-stamping-month-at-two-peas/

Ahhh, inky goodness! And it comes in 36 yummy colors.
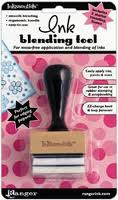
And my favorite tool to use with Distress Inks? The Tim Holtz Ink Blending Tool.

Now, make sure you get the one with FOAM pads, not felt. This lil' baby is fabulous for adding a lighter blended layer of ink to your projects and it is a must have for Distress Inks.
I store my foam pads in little baggies and label each one with the name of the color of Distress ink that I used with it so that I can re-use them. :)
And these are a few of my favorite places to get information and video tutorials for Distress Inks. Check 'em out to learn all sorts of fabulous techniques with them.
Jennifer does AMAZING things with inks and stamps. This is her blog and she often has videos using lots of products and techniqes. To find all her videos, simply go to the link at the top of her blog that says "how-to videos".
http://www.twopeasinabucket.com/mb.asp?cmd=display&forum_id=52&thread_id=2839474
A series of videos Jennifer did for 2Peas using lots of Ranger and Hero Arts. There are a ton of videos on all sorts of products but the Distress ink ones are my faves. :)
https://www.twopeasinabucket.com/events/7-october-stamping-month-at-two-peas/
A brand new, holiday verison of Thinking Inking with tons of fabulous techniques and ideas.
So give these fabulous inks a try and use them on your next crafty project.
Until next time,
Janeen :)
Subscribe to:
Posts (Atom)