Monday, July 30, 2018

April DisneyScrappers Design Team Layout

Just a quick post on this layout today. I loved the sketch over at DisneyScrappers this month and used it to make a quick and easy page with lots of photos. Gotta love it when that happens!


Here's the sketch that inspired my page: http://disneyscrappers.ning.com/forum/topics/2018-april-sketch-challenge

I love that there was space for 4 photos on this single page layout. The design came together really easily with DCWV's Coastal stack and a few alphabet stickers. Love love love!

Video + QR Codes = Scrapbook Magic

Hello friends! I am here sharing another of my DisneyScrappers design team layouts with you. This one is from our March 2018 sketch challenge. I chose to use photos from the Candlelight Processional at Epcot from Christmas 2012. I love this layout for so many reasons but my favorite feature is that I was able to embed some video from the performance into my page. This means that I can use the QR reader on my phone to scan the little QR code on my page and see the video I took during the show! It just adds another dimension of awesomeness to the page!

Here's the page.
 

And here's the link to the challenge: http://disneyscrappers.ning.com/forum/topics/2018-march-sketch-challenge

As you can see I again stretched the sketch into a double and added lots of photos with a photo template. See my previous post with info on these amazing templates. :)

So the QR codes are the little squares on my layout that look like a bunch of crazy dots or lines. One is above my journaling in black and the other is below the "Silent Night, Holy Night" card in red.

The best tutorial I found is from The Britt-ish Designs Blog. She has step-by-step instructions as well as a free download of a fun little element to tell people about your QR code. You can check it out here: http://brittishdesigns.blogspot.com/2013/03/using-qr-codes-in-your-digital-layouts.html

Once you make your first one, you will be hooked and want to video everything. So cool!

Disney Scrappers

Hello blog friends. I again seem to have neglected my little space here. I was thinking about it the other day and thought I would start sharing here again for you all. :)

Those of you who have followed me for any length of time know that I LOVE to scrap Disney. A little over a year ago my friend Susan Stringfellow asked me to be a design team member on the DisneyScrappers site. I was already an active participant on there and I love Susan's sketches, so of course I said yes. 

So today, I want to share a few of my design team projects with you. I will also link to the original sketch. If you like to scrapbook Disney, I highly encourage you to come check out DisneyScrappers.

Here is my layout for February 2018.

I created this layout for these awesome photos I was able to capture of the Beauty and the Beast show over at Hollywood Studios. Susan's sketch and exclusive "White Glove Level" die cut were perfect to help me showcase my photos. You can check out the sketch and challenge here: http://disneyscrappers.ning.com/forum/topics/2108-february-sketch-with-cut-file

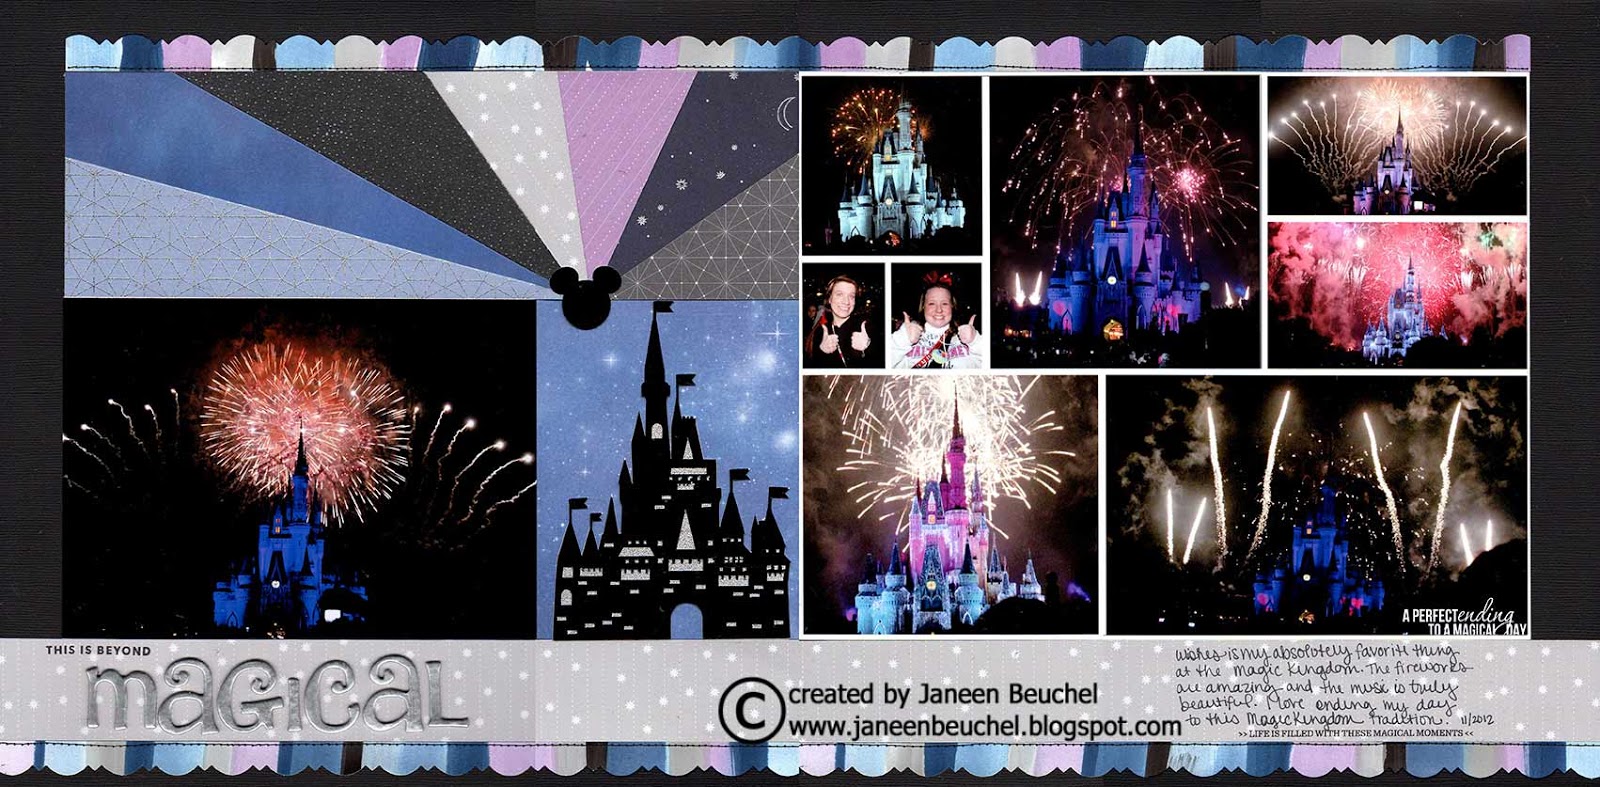
Many times, I have way too many pictures for a single page sketch, so I turn them into double pagers. I typically take a few page elements and stretch them to cross both pages and add some embellishments and or the title to the second page to help your eye flow across both pages. I also love adding in a photo collage like I did above. It takes a lot of the design guesswork out of the page and they are so easy to make. The ones I use are all from Kerri Bradford. You can check out her collection of photo collages here: https://www.kerribradford.com/product-category/photo-templates/
and she has a great tutorial on how to use them (so easy!) here: https://www.youtube.com/watch?v=cInI_cGhQqY


Friday, May 5, 2017

NSD Watercoloring Techniques

Hello to my Disney Scrapper friends! I am so glad you could join me over here on my blog for a fun tutorial using watercolors.

Watercoloring is a hot new trend in the world of scrapbooking. There are many different ways to use this fun medium and today I wanted to share a few of my favorite techniques.

Don't have watercolors? You can make your own with an ink pad, a water spritzer, an acrylic block or non-stick mat, and a paint brush. I have found that dye inks work better for this technique, especially the Tim Holtz Distress inks and the Stampin' Up Classic Ink Pads.

In my first layout to share, I created the striped border patterned paper to match the rest of the elements on my page.


Here are the steps:
1. Gather your photos and patterned papers. Then choose 5-6 ink colors to coordinate with your layout. Here I chose a mixture of inks: Ground Expresso and Frayed Burlap Distress Inks. Stampin' Up inks in Old Olive, Mossy Meadow, and Delightful Dijon. I also pulled Barn Red from Close to My Heart. Also get out a piece of smooth white cardstock. (I tried watercolor paper with this technique but it bled too much.)


2. Apply each color of ink to a spot on your craft mat or acrylic block. You want enough ink and enough space to be able to mix it with the water to create your watercolor.

3. Spritz your ink splotches with the water. I use a mini mister from Ranger which gives a good amount of water...not too little and not too much. You will start to see the colors pool a bit in the water. Also a word of warning...sometimes you get little ink splatters when you do this so be sure to move your photos and patterned papers out of the way before you add the water.


4. Choose a paintbrush and swirl it around in the color you want to start with. Then make a 3-4 inch line at the edge of your paper. This is your first stripe.

5. Continue making stripes with alternating colors down the paper. Try to vary the width of the stripes. This will give your paper more interest. You may need to experiment with the colors a bit. Sometimes certain colors don't look good next to each other when they overlap. It really is just trial and error.

**At this point you may notice my stripe colors look different. I did this demo with different ink colors and once it dried it did not match my paper at all. So I chose different colors and started over. But I forgot to retake my photos.

6. Let your paper dry completely. You can speed up the process with a heat tool but your paper will warp some. This is normal. :)

7. Once your paper is completely dry you can cut it out or use a border punch to create a border for your layout.

Here are a few other pages I have created lately using this technique. I am loving how it looks and how I can create custom patterned paper to match my layout.

This layout was created with digital elements from Project Mouse's Adventure Kit. I needed a patterned paper with many of the colors from the other elements on the page to tie it all together so I created the striped piece using this technique.

I found the perfect paper collection for my Disney Wishes photos but there was not a paper that had all of the colors from the collection on one paper to tie the colors together so I created my own striped paper to coordinate with the rest of the papers.

*********************
A second technique I wanted to share with you is making a watercolor washed background for your layout. I created the background of this layout using the Kuretake Gansai Tambi Watercolors and 12x12 watercolor paper from Strathmore. The watercolor paper allows the paint to bleed more and gives a more blended look.

Here are the steps to create this look:

1. Choose your photos and patterned papers first. This will help you choose what colors to use for the background. Choose 4-6 colors of paint that go well together.

2. For this layout I had a general idea of where I wanted things to go on my layout so I marked where my photo was and made sure I had the edges covered but didn't do too much painting under where the photo would go.

3. Load up your paintbrush with lots of water and a little bit of watercolor paint. It may take a practice run to figure out how much paint to get to get the look you want. I ended up wiping some of mine off of my brush with a paper towel before I started. Choose to work from one end and continue around the page. I started in the middle and had to go back with some extra water to get my colors to blend if they had started to dry.

4. Then add your second color, making sure to overlap the two colors a little bit to get them to blend. Continue with new colors and continue working across your page until you have all the areas filled in that you want to.

5. Let the paper dry completely before moving to the next step. I had a small wet spot on my paper and that made my pen bleed...luckily it was right where I wanted to cover it up. :)

6. I then used this Disney Scrappers die cut that Susan is making available for National Scrapbook Day and my Silhouette Cameo with the pen attachment to draw the die cut on my page. (See Challenge #10 for more details.)
(This was my first time playing with the Silhouette pens and I am so pleased at how this turned out!)
7. You can color in a specific word or phrase or leave them as is. I chose to color in the "Disney Magic!" to make that my page title.


There is so much you can do with watercolors in your paper crafting. To learn more, I recommend this awesome FREE video series from Scrapbook.com. https://www.scrapbook.com/classes/Watercolor-Techniques-with-Natalie-Malan-All-Skill-Levels.html  It has lots of great easy projects and techniques to learn to use watercolors even more.

What I loved about these projects is that they gave me time to just play and see what I could create. After all, isn't that what paper crafting is all about? So my challenge to you is to pull out your coloring materials and let's see what you can create!

Tuesday, February 28, 2017

Refresh. Update. Renew.

Hello blog land. It has been awhile since I have posted here...too long. I have decided to start my blog again to share my love of all things creative and maybe inspire someone else to be creative too.  I haven't stopped my creativity over the past 2 years...I just haven't been online as much. I have been busily creating scrapbook layouts. Over 160 of them in 2016! I have scrapbooked many travels including Israel, Chicago, Pensacola Beach, and of course Disney. I have also scrapped many holidays, birthdays, and time with family and friends.

If you want to see what I've been up to lately, you can head over to my gallery on Scrapbook.com by either using the button on the side of my blog or you can click here.

I'm hoping to share some of my scrappy fun with you at least a few times a month and hopefully inspire you to dig into your stash of pretties to tell stories and remember the stuff and events of life. What we are made of. Who we are as people and how we are affected by the world around us. So come along and join me on this journey to discover our creative sides as we play with fun products and tell the stories of the pieces of our lives.


Tuesday, March 17, 2015

A Lucky Day

Today is St. Patrick's Day. A day many people consider to be lucky. I don't know if I would consider it luck, but I do consider myself a pretty lucky girl  probably not for reasons that many would consider lucky. I explain it all in the layout I made a few years ago.


"Yep, I am one lucky lady. I may not have the job that I truly want, but I have so many other things to be thankful for...my loving supportive family, a fabulous group of friends, a faithful dog who loves me no matter what, my health, a hobby that I both love and am talented at, and most importantly my faith in Christ. These are just a few of the blessings in my life that make me truly lucky. "

The journaling on this layout that I made in 2010 is still as true today as it was then. I am truly blessed and thankful for my life. 

This layout is also being featured over on Paper Crafting Studio today. You can check it out and learn how I made the shamrocks.   Come check it out. http://papercraftingstudio.com/904/lucky-me-layout/


Since it is St, Patrick's Day I thought I would share one more layout I made. It is based off a sketch from the incredibly talented Valerie Salmon from one of her Got Sketch classes. 

These pics are of my sweet dog Bailey from a few years ago. The patterned papers are the same ones I used in the layout above and are from Little Yellow Bicycle's "Lucky me" collection from a few years ago. It's one of my favorites and I only have bits and pieces left of it now. And the title is cut using the Silhouette Cameo...love the intricacy of the cuts on the word lucky. 

So my challenge to you is to scrap something related to the topic of St. Patrick's Day or luck. You never know where it might take you. 

Scraplift Yourself

Have you ever scraplifted yourself? Scraplifting is looking at another's work and pulling inspiration from it, whether it be design elements, colors, embellishments or a title. While I love to scraplift other scrappers, one of my favorite things to do when I'm in a creative rut is scraplift myself.

 I was recently looking back through some of my layouts and I realized just how many times I have scraplifted one particular design. So I thought it would be fun to share it with you.


I created this layout from a sketch I received from the very talented Valerie Salmon in one of her sketch classes. She no longer has the classes but I still love her awesome multi photo designs. In this layout I stuck pretty closely to the original design and used multiple pictures in the recommended sizes. I also used some fun things for my borders including Bazzill strips, ribbon, and border stickers. I also put embellishments where the sketch had them and journaled on a tag. 


This was the next layout I created. I swapped the wavy edged strips for just straight cut borders of 3 different patterned papers. I kept the tag and circle embellishments the same but added photo corners to the large photo. 


On this layout I kept the same design but this time I used a fancy border I cut from my Silhouette. I also traded out the square tag for a rounded journaling spot.


For this layout I again used the fancy border cut for my layout because I loved the elegance it brought to my layout. I also moved the placement of the title and embellishments and added more strips to the right side. I used 2 8.5x11 photo collages to change up the photo design and found this design worked great for this size of collage. 


On this last page, I printed the 2 8.5x11 collages and then realized just how little space I had left to design in. It made me think of the wedding layout I had done so I looked to it for inspiration. I again loved the lacy border but decided that design was too fancy for my photos. So I switched out for the geometric one. I loved the embellishments more in the middle so I moved them. 

Now thanks to this great sketch and scrap lifting myself, I have 5 different layouts. They are scattered throughout my albums and they each have a different feel based on the photos and embellishments. 

So next time you are in a creative rut, try scraplifting yourself. The results will amaze you. :)